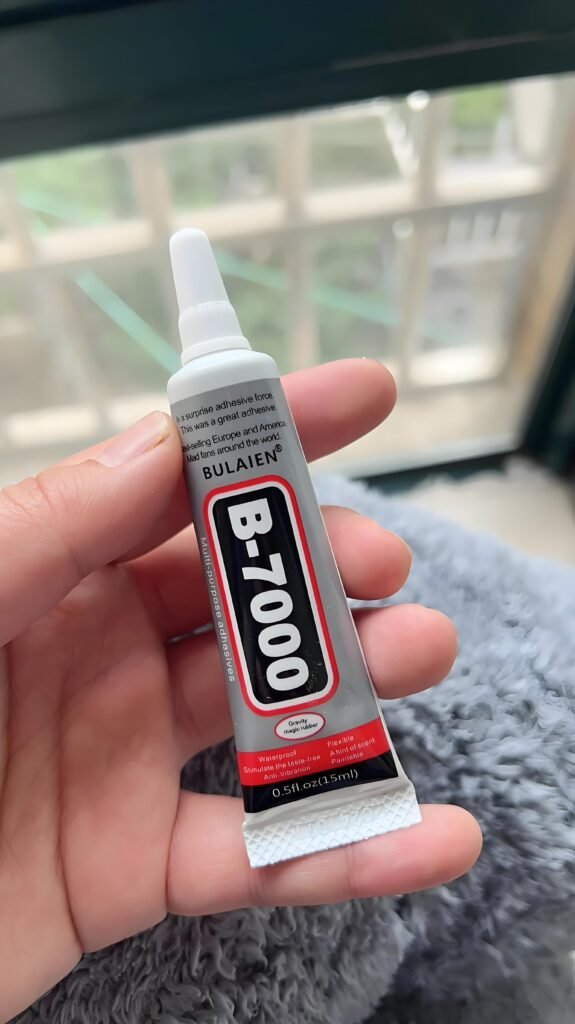
Shoe Repair Glue:Do you feel troubled by the glue peeling off your beloved shoes, while also feeling heartbroken about the damage to your shoes? If buying a new pair of shoes incurs additional costs, but the old shoes are only glued and the rest are still very intact, so simply repairing the glued area can fix the shoes and clean them to replace them with new ones. This is a very good choice. This article will explain why shoes have adhesive peeling, how to handle it after peeling, and how to store it to ensure that it will not peel again.
Why Shoe Repair Glue Fails? Top 3 Causes of Shoe Peeling!
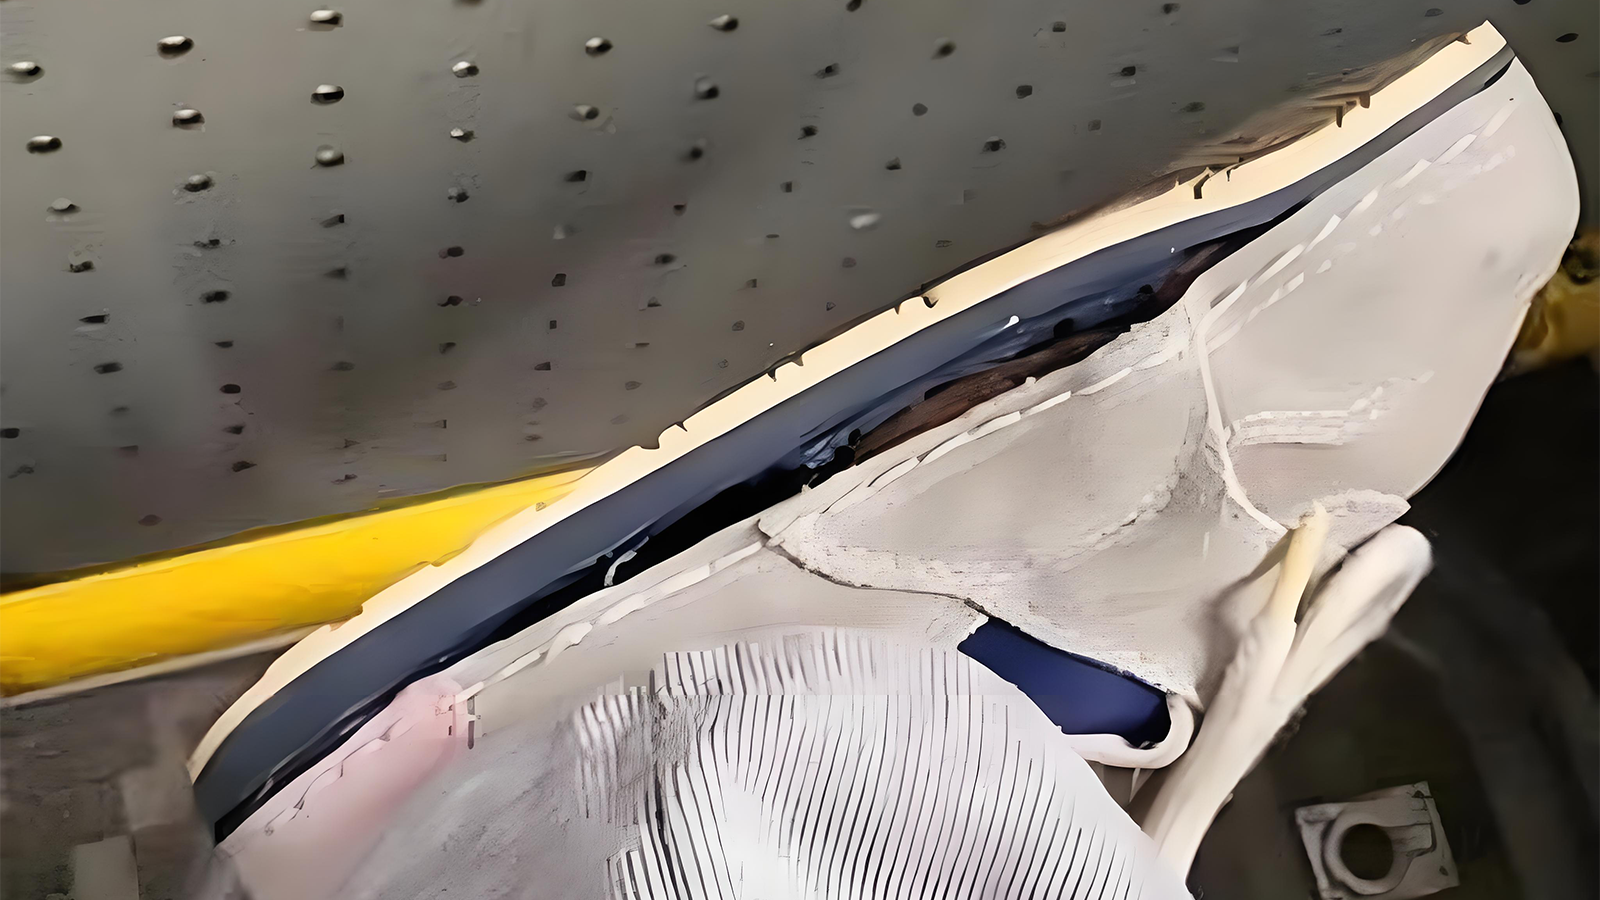
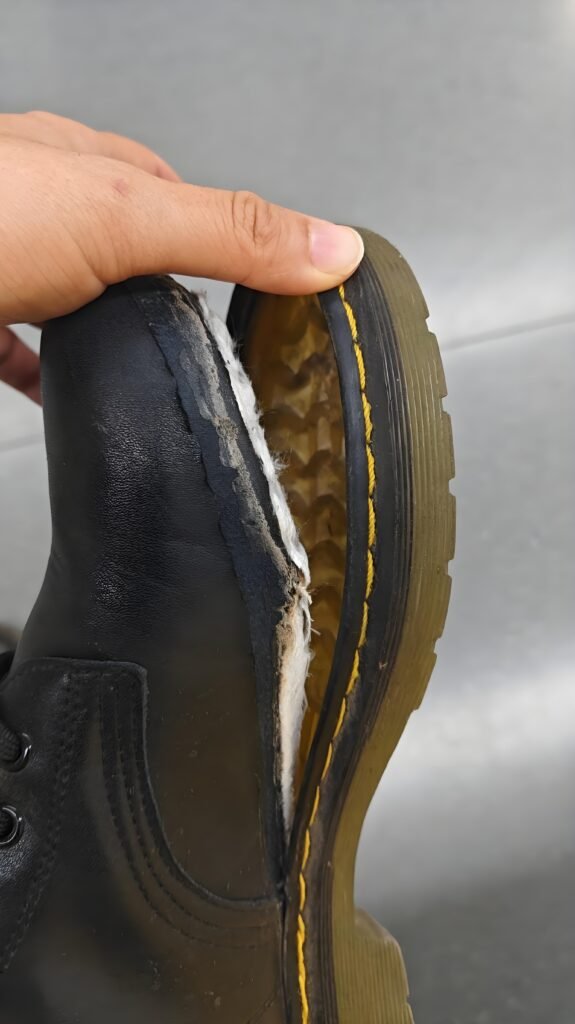
When shoes start peeling, many people blame the shoe repair glue first, but that’s rarely the whole story. Think about how your feet bend the soles with every step—especially near the ball of the foot on sneakers or work shoes. Over time, even the strongest adhesive fatigues from constant flexing, like folding paper repeatedly until it tears. Then there’s the environment: walking in rainy weather lets moisture creep into the glue seams, or leaving shoes in a hot car during summer bakes the adhesive brittle. Lastly, natural aging plays a role; glue dries out over years in storage, even on rarely worn pairs. These are the real culprits behind peeling—less about the glue itself, more about how we use and store our shoes.
Shoe Repair Glue Rescue: 5-Minute Step-by-Step Fix for Peeling Shoes!
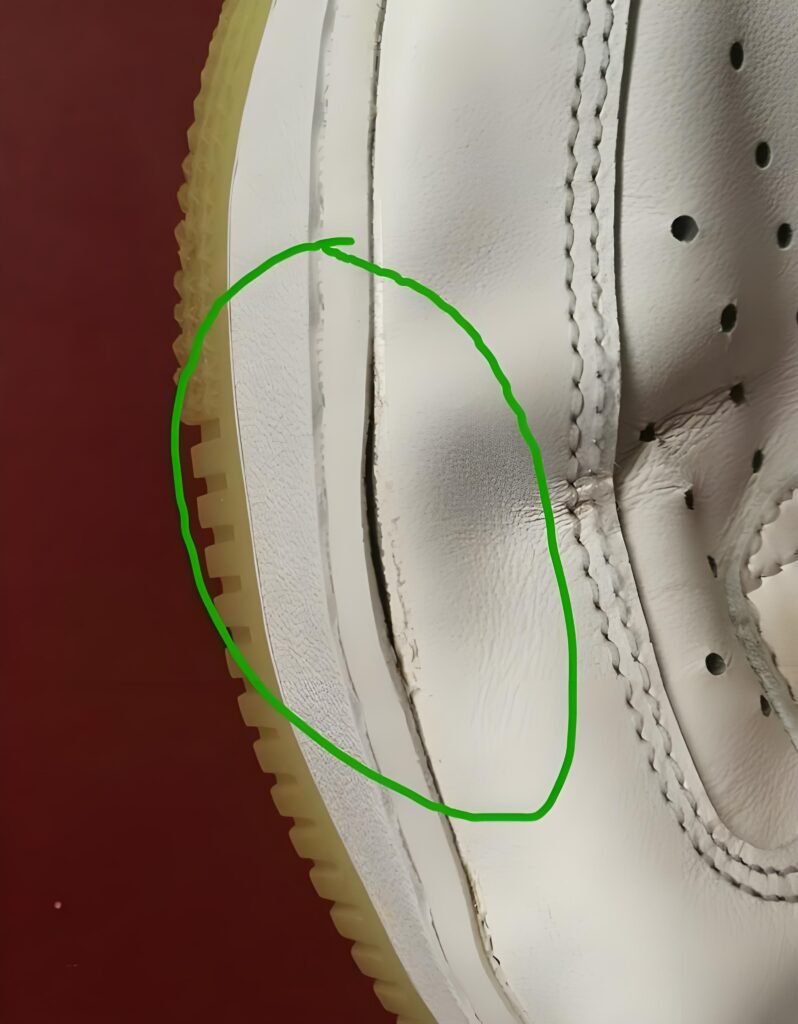
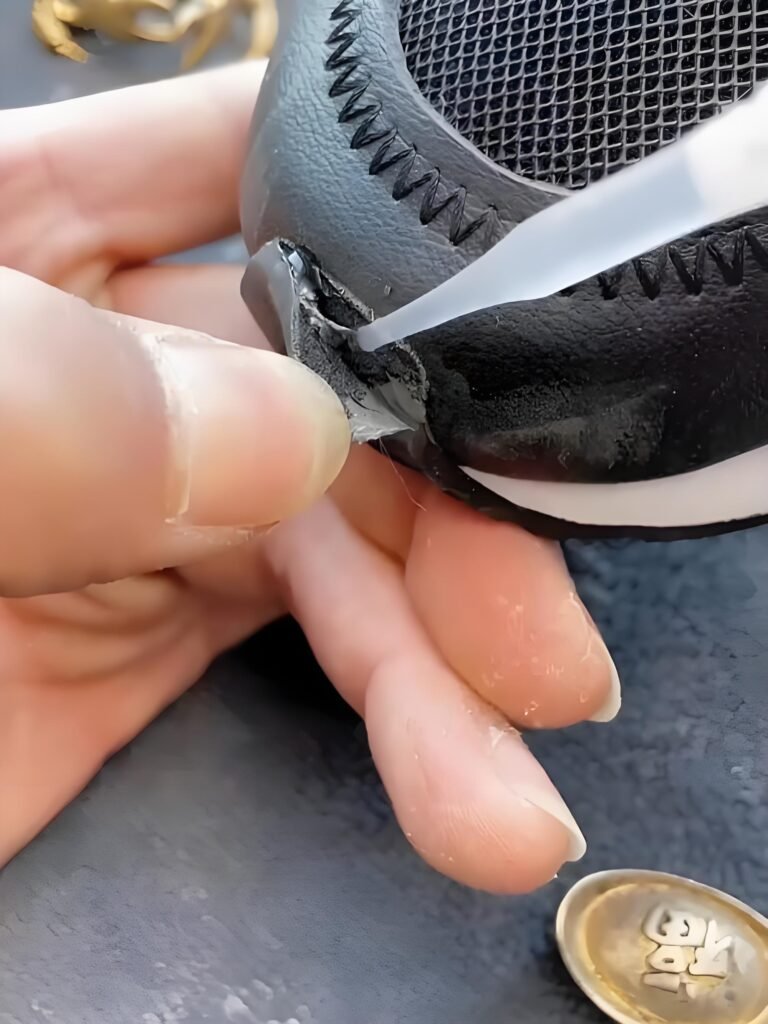
Don’t toss those peeling shoes yet—if the upper is intact, a shoe repair glue fix is easier than you think. Start by laying down old newspaper and wiping debris from the separated area, especially grime wedged in the sole’s grooves (this step is often skipped, but dirt ruins adhesion). Apply a thin layer of glue to both surfaces—think spreading jam on toast—then wait 1 minute until tacky. Press the sole firmly into place, then weigh it down with heavy books or secure with rubber bands. Walk away for 30 minutes, and your shoes will be ready for action. The magic isn’t in expensive glue, but in nailing each simple step.
Never Peel Again: Smart Storage Tips for Shoe Repair Glue!
After fixing your shoes, keeping shoe repair glue ready for next time boils down to smart storage. Don’t just toss the tube in a drawer—dried glue clogging the nozzle ruins it. Treat glue like perishable food: it hates moisture and heat. Wipe the tip clean after use, screw the cap tight, then seal it in a ziplock bag with air squeezed out. Tuck it somewhere cool and dry—think the back of a kitchen cabinet, not a steamy bathroom shelf. In humid areas, toss in one of those silica gel packets from snack bags. And remember glue has a shelf life; mark the purchase date on the tube. Stored right, one tube can rescue multiple pairs.
Shoe Repair Glue: Conclusion
At its heart, peeling shoes aren’t the end of the road. Understanding why glue fails, mastering quick fixes, and storing supplies smartly breathe new life into old favorites. It’s more than saving cash—it’s honoring the miles your shoes have walked. Life’s like that sometimes: the art of mending wears better than chasing replacements. Think of patching a bike tire or sewing a button; these small acts push back against throwaway culture. When shoe repair glue bonds that separated sole, it’s not just rubber meeting leather—it’s choosing to make things last. There’s comfort in revived shoes that new pairs can’t replicate, like slipping into a story only you know.
Got questions? contact us.